Carousel
Locomotive Loli-9451
Suggested material:PLA + PETG
Number of parts:38
Discord tag:Loli-9451
Building the locomotive involves printing and cleaning parts, wiring and assembly.
Instructional videos will show a recommendation for slicing parts. But you can also find a better way while you build your own.
If you have never worked with soldering, there are great videos on YouTube to show you the basics. That should be just enough to acquire a skill to get this done.
There are also dedicated videos to wiring here so you should be covered.
Weights are used to make the locomotive heavier in order to provide better traction and stability. Propper weight displacement is very important. My recommendation (as you will also see in the tutorials below) is 200grams for the front and 140grams for the back of the locomotive. Of course, you can play arround the weight and see if you find something even better. However keep in mind that the front of the locomotive needs more weight than the back to keep the front wheel carriage on the track.
For a full reference of necessary materials and tools, go to Tools & Materials.
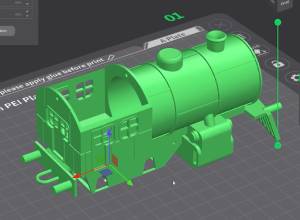 Slice the locomotive
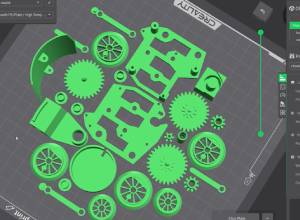 Slice general parts
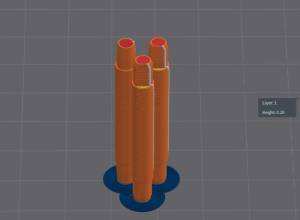 Slice axiles
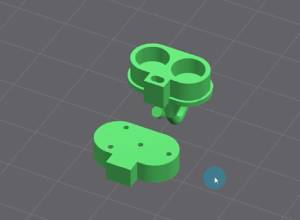 Slice the connector
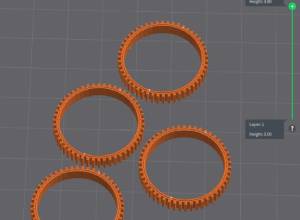 Slice the tyres
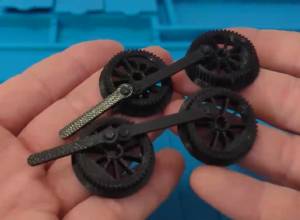 Drive wheel assembly
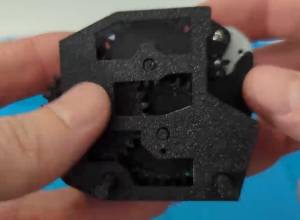 Drive assembly
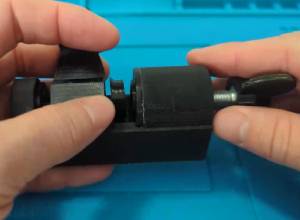 Front wheel carriage assembly
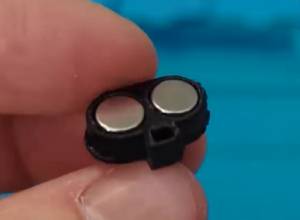 Connector assembly
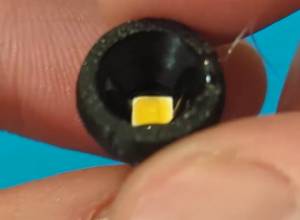 Headlight assembly
 Finishing up