Carousel
Coal Wagon
Suggested material:PLA + PETG
Number of parts:21
Discord tag:wagon-coal-1
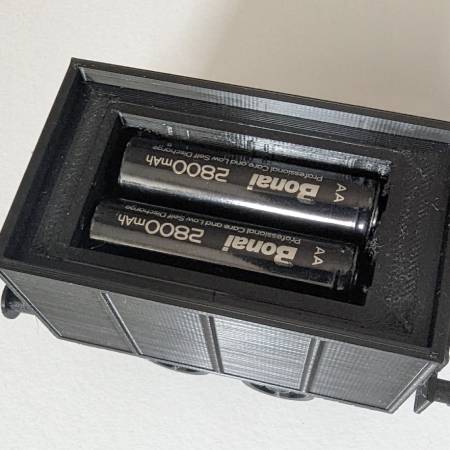
Coal wagon is used to carry batteries. It supplies electrical energy to the locomotive and other wagons through magnetic connectors.
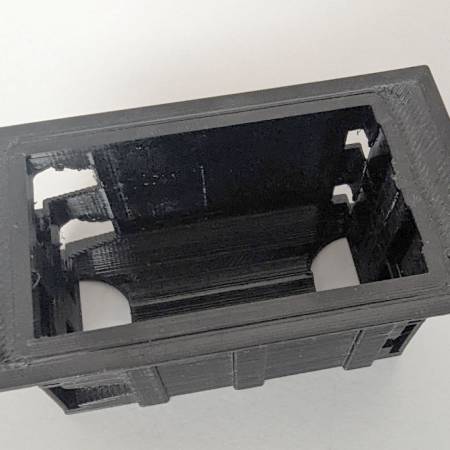
The battery cradle is printed rather than relying on commercial prebuilt ones. You can probably find a commercially available one that can fit into the wagon if you don't want to go through the process of making the one from this set. In this set, cradle body is printed with a printer.
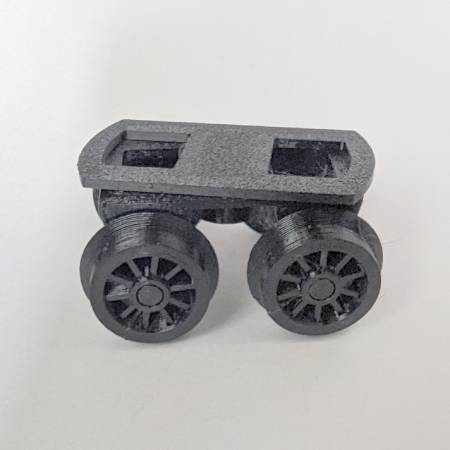
It has four wheels (one set of wagon wheels) which rotate in a carriage to follow the shape of the track. These wheels are universal throughout all of the wagons.
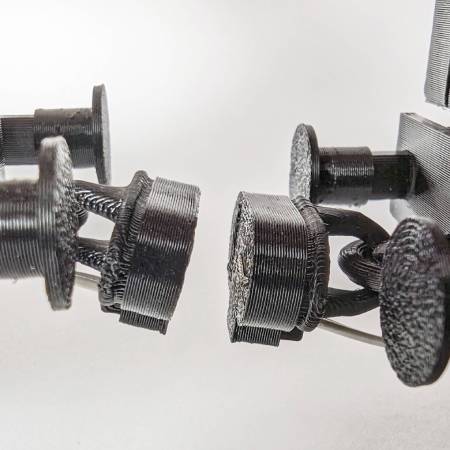
The two connectors are magnetic and they transfer electricity. Magnets are 6mm x 3mm neodymium magnets, also widely available in the market. Connectors are assembled with or without super glue. Once assembled and mounted connectors are extremely easy to use since they snap-on to one another. The direction of the two magnets in each connector will not allow accidental inverse polarity. If you do make a mistake of inverse polarity while assembling or mounting connectors, the voltage is very low and the components can handle inverted voltage.
DO NOT SHORT CIRCUIT THE CONNECTOR!
I have done my best to design this wagon in such a way that it can be easily repaired and if really necessary salvaged. It is both sturdy but doesn't use too much plastic. So be responsible to the environment if things go wrong and try to reuse or repair whatever you can. Make it a challenge rather than nuance :)
Building the wagon involves printing and cleaning parts, wiring and assembly.
Instructional videos will show a recommendation for slicing parts. But you can also find a better way while you build your own.
If you have never worked with soldering, there are great videos on YouTube to show you the basics. That should be just enough to acquire a skill to get this done.
There are also dedicated videos to wiring here so you should be covered.
For a full reference of necessary materials and tools, go to Tools & Materials.
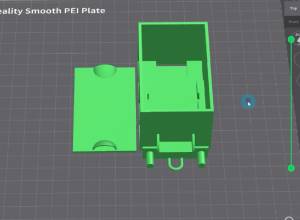 Slice the wagon chassis
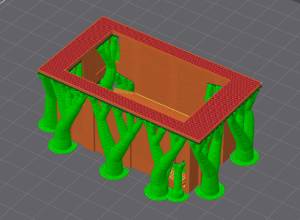 Slice the battery cradle
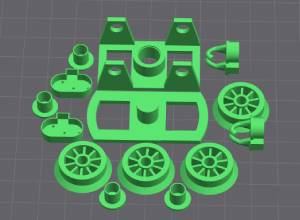 Slice general parts
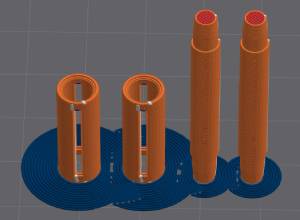 Slice axiles
 Cradle assembly
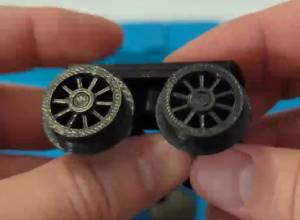 Wheel carriage assembly
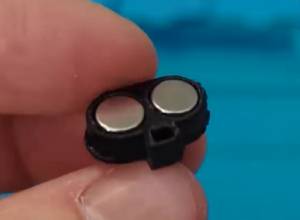 Connector assembly
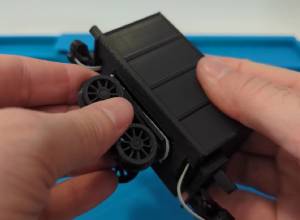 Final wagon assembly
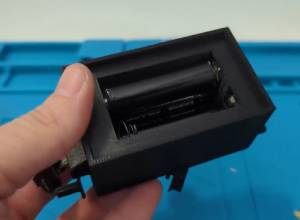 IMPORTANT